


This tutorial is for GIMP photoshop.
Start out with whatever size you want. For this tutorial i will be using 420 x 300.
This is a very simple tutorial with a good looking outcome for skinning.
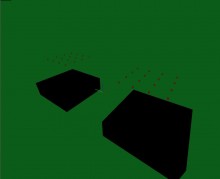
Step 1) Filters / Artistic / Clothify. Leave everything how they are there. Review screen shot number 2.
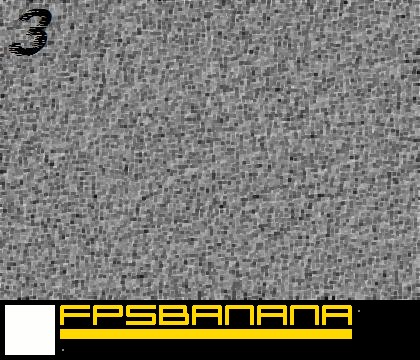
Step 2) Filters / Generic / Erode Review screen shot number 3.
Step 3) Color / Colorize I suggest only screwing around with the Hue to what color you want, but if you desire feel free to mess around with the other two. I will be using a tan color.
Step 4) Create a new layer, Use your paint bucket tool and fill it with black.
Step 5) Filters / Render / Clouds / Difference Clouds Leave everything the same except for, Detail turn to 15. X and Y size should be maxed at 16. Review screen shot 4.
Step 6) In your layers box, change the Opacity of the clouds down. Any where from 20 - 30. This will be detail. Review screen shot 5.
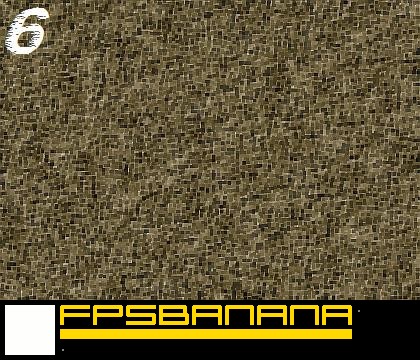
OPTIONAL (Step 7) Filters / Enhance / Sharpen. Put it up to around 50 and your texture should become more clear. Review screen shot 6.
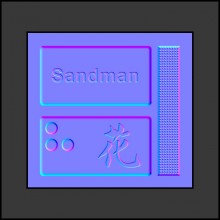
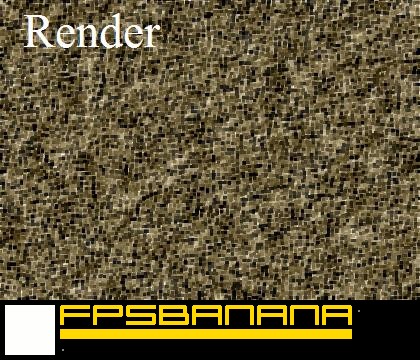
OPTIONAL (Step 8) Filters / Enhance / Unsharpen. Radius 88, Amount 0.8, Threshold 0 Review the render (first screen shot).
Thats it your done. Good for map textures or sometimes even camos! Please Asses and Add me to your watch list!
Thanks! -Krossbowkid