
This tut will end in a glowing laser perfect for a sig!
Step 1) Make a new sheet of any size.
Step 2) Use the paintbucket tool and set the backround to black.
Step 3) Go into Dialogs/Layers
Step 4) Click new layer. Set "layer fill type" to Transparent.
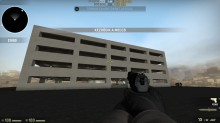
Step 5) Select your "Pencil Tool" Set the Forground Color to the color you want to use. For this Tut i will be using Red. (This should be the darker of the 2)
Step 6) Hold Shift, Click in the top right near the corner and since your holding shift click the bottom left corner only higher up so about 3/4 down the page on left side. Do same with right side.
Refer to Screenshot A for help.
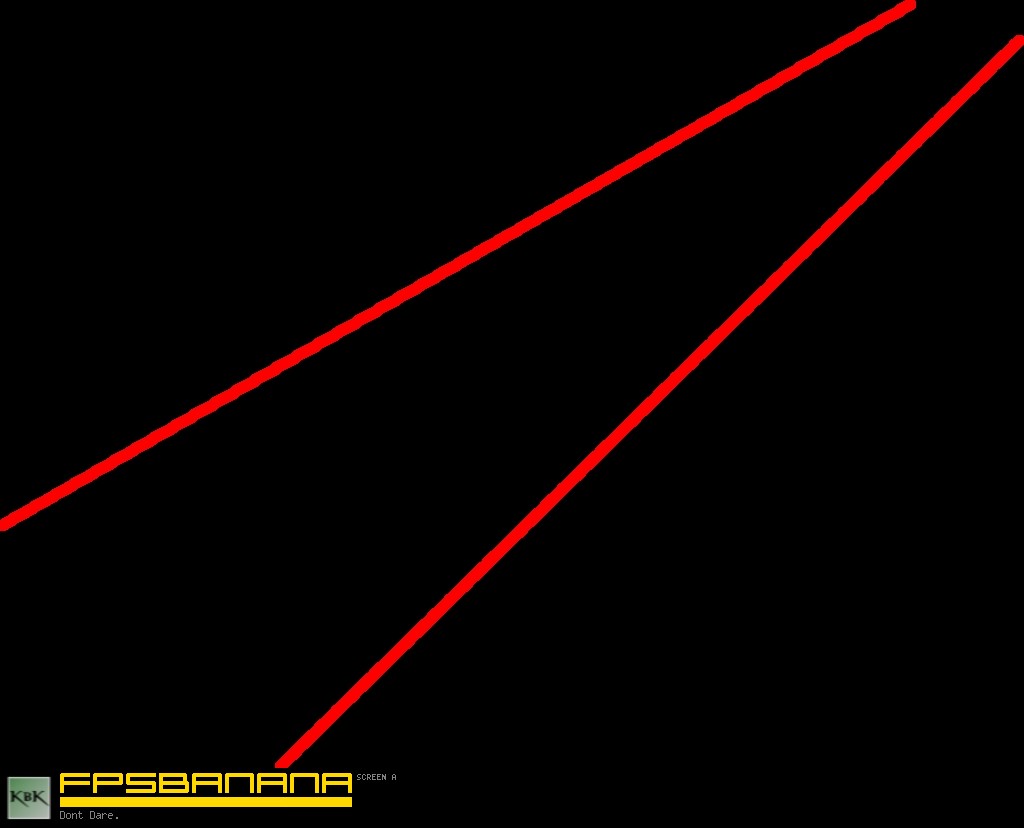
Step 7) Grab the paintbucket tool and fill in the inside of the 2 stripes.
Step 8) Now go back into Dialogs/Layers and duplicate your layer with the colored Streak on it.
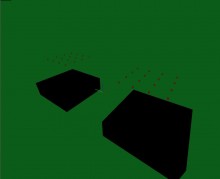
Step 9) Now with your Secondary color as the "foreground color" Make another streak of that color the same way you did in Step 6 and 7. I will be using Light Green.
Refer to Screenshot B for help.
Step 10) Take out your "Select by Color tool" click the color on the first color you used and hit Delete. It should still stay there however because you have a layer under it with the same thing.
Step 11) Click Select/None. Go into your Dialogs/Layers and click on the first colored one. Now go into Filters/Blur/Gaussian Blur.
Set both settings to "125" Click okay.
Step 12) Now on Dialogs/Layers click the one with the streak of the color you made second. Go into Filters/Repeat Gaussian Blur.
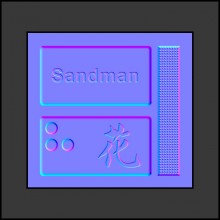
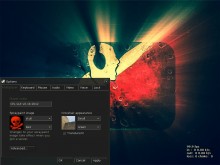
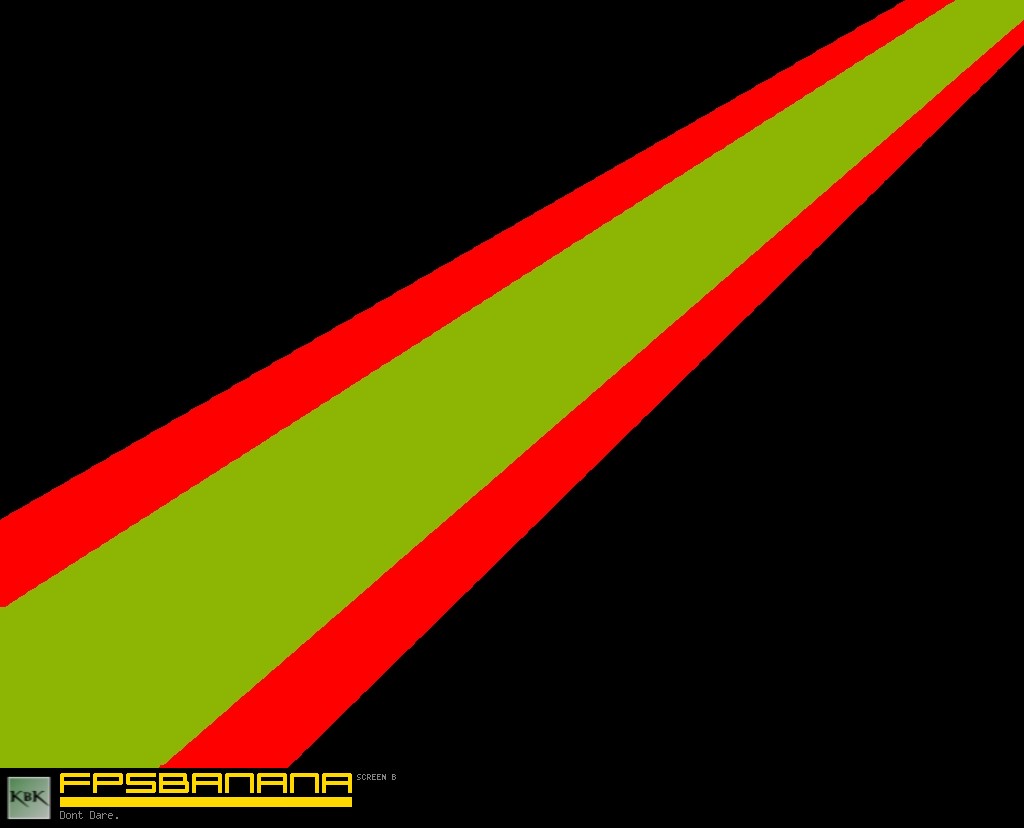
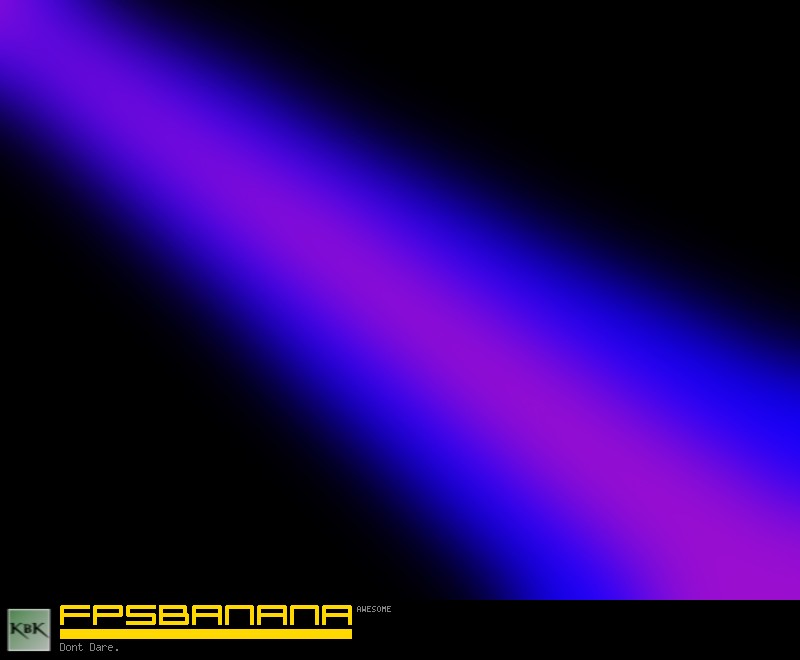
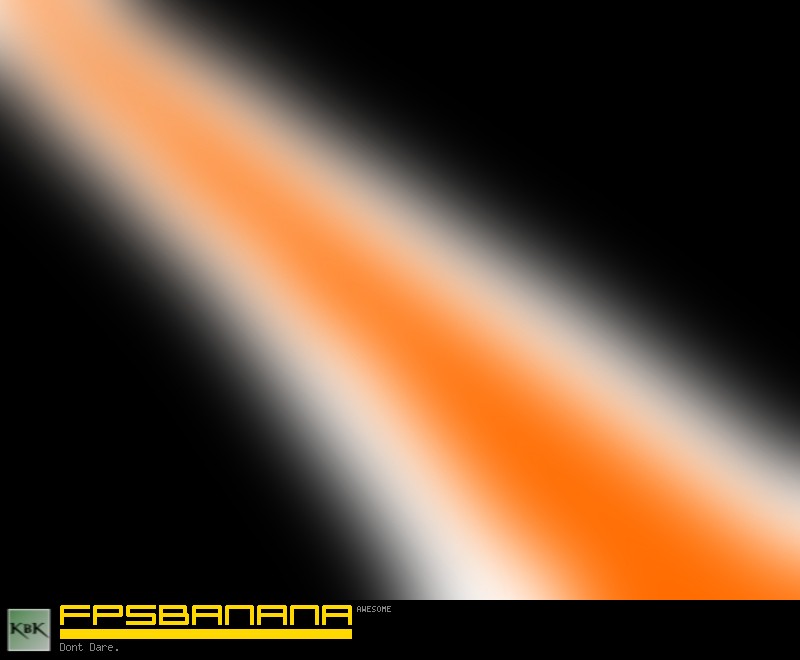
Step 13) Add any text or any other filters you desire and your done! Look at Screenshot C for my final product!
This is just a simple version, Feel free to do it your own way. I just did it simple with 2 colors and etc for the tut!
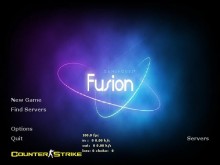
It makes great Sigs!
I Included 3 others to show how awesome they can look!