You need GIMP Photoshop for this!
1) Start with 800 x 600 sheet.
2) Fill it black with the paint bucket.
3) Go into Filters/Light and Shadow/Supernova
4) On the mini-picture click the bottom middle of the page placing the supernova in the Center Middle. Do not click OK.
5) Set the color of the nova to whatever you like. In this tutorial i will be using Gold. Set the Radius to 55. Set the Spokes to 45. Random Hue should be 0.
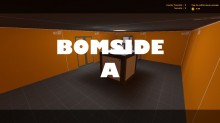
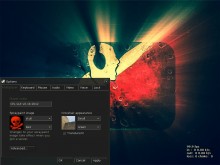
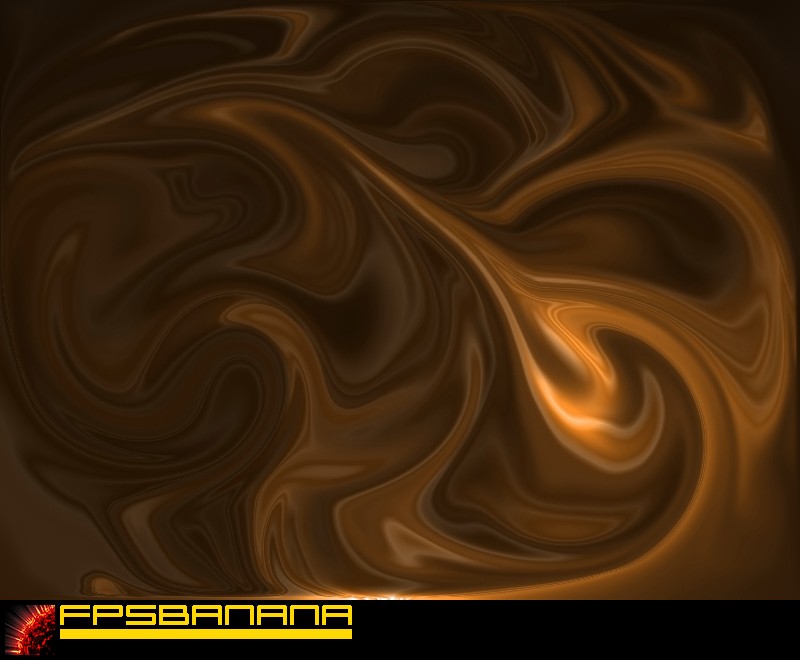
6) Click OK. Now your sheet should look just like Screenshot A. (of coarse you might have done different color.)
7) Now go into Filters/Distorts/IWarp.
8) Select Swirl CCW. Set the Deform Radius to 65 and Deform amount to .30. Do not hit OK.
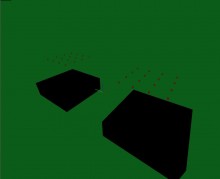
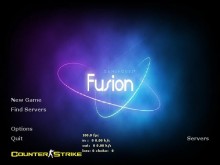
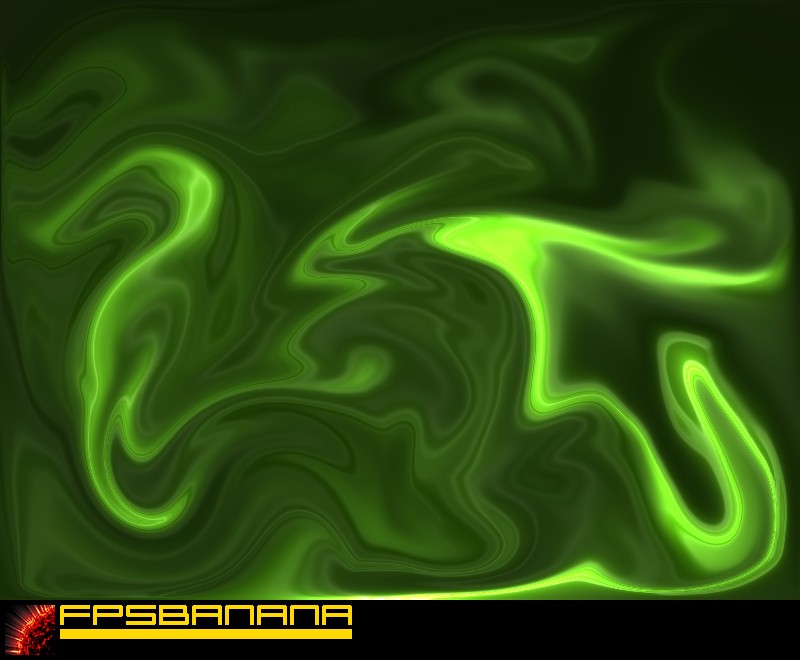
9) Click and hold down and the mini-picture and quickly move your mouse side to side, up and down, or do it slowly moving it to different areas. The way you want is up to you. After you swirled it a lot and get a fusion looking picture. (try to spread out the bright areas and have little black edges.) take a look at Screenshot B
10) Select OK and apply any other filters you would like to use. I did not use any but some are very good looking.
Alright that is the tutorial! I hope you enjoyed it and make cool Fusion looking sigs! This is my first tutorial please leave positive comments. More to come!
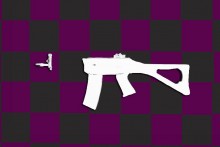
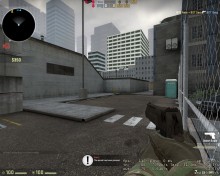
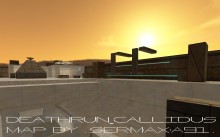
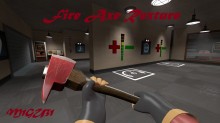
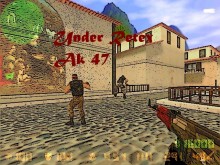
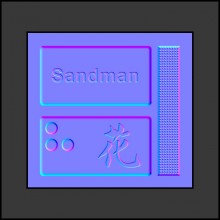
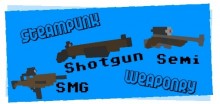
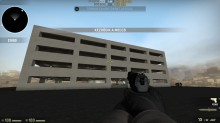
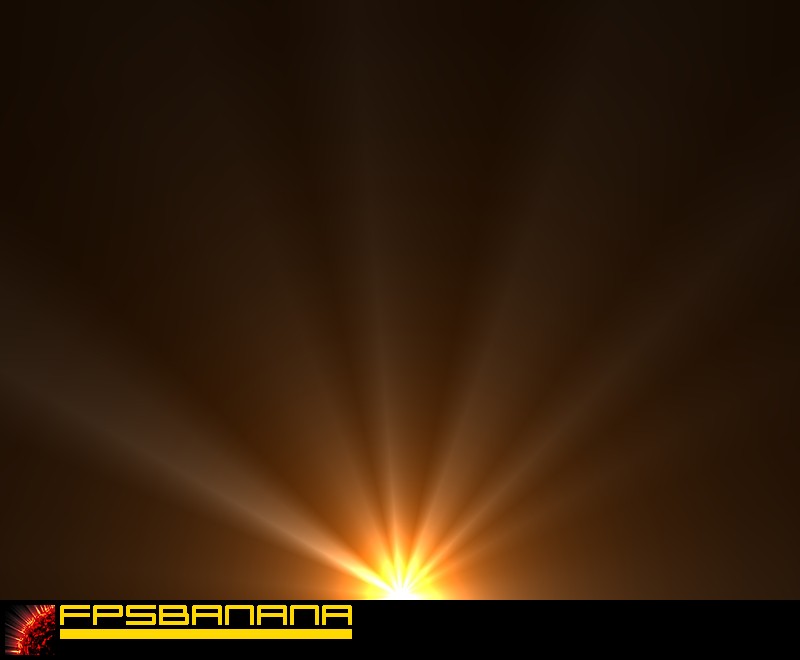
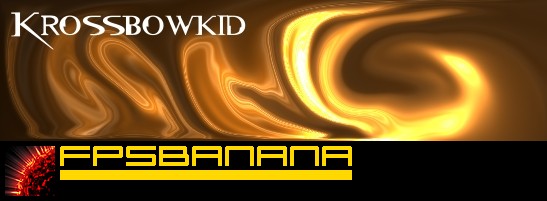
Screenshot C is other work. Screenshot D is a quick sig i made!