Hi again guys, its came to my attention that many of the new guys in sf don't even know how to string up a straight wall, many of them don't realise there are a few tutorial videos on the main site;
http://www.sourcefortsmod.com/index....ite_video_tips
I would recommend you download them and have a practice in a private or empty server.
But for those who don't wish to download the videos (if your on a slow connection, you have bandwidth caps from your ISP, your too lazy etc etc), I thought it would be nice to post a mini tutorial on making a decent straight wall in SF.
So here goes;
In SF there are many shaped blocks, but with each block the way you handle/manipulate the block, is basically identical for all of them.
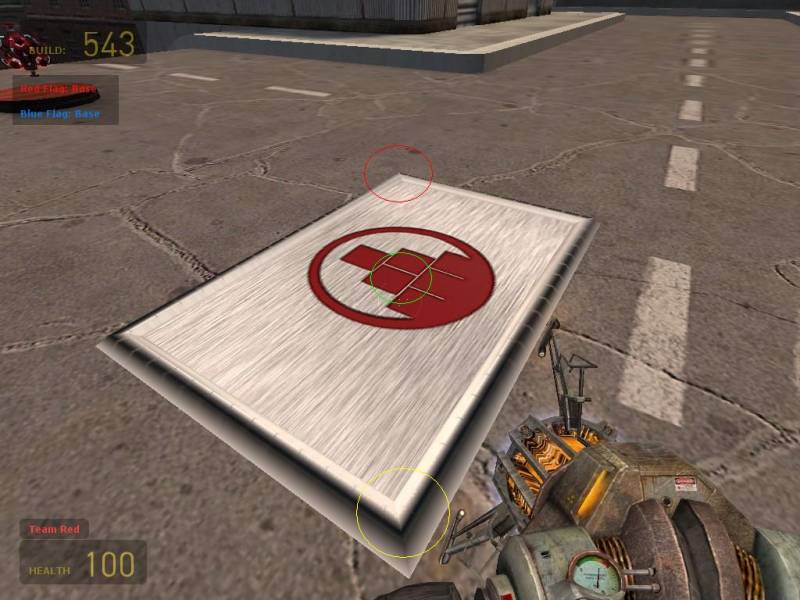
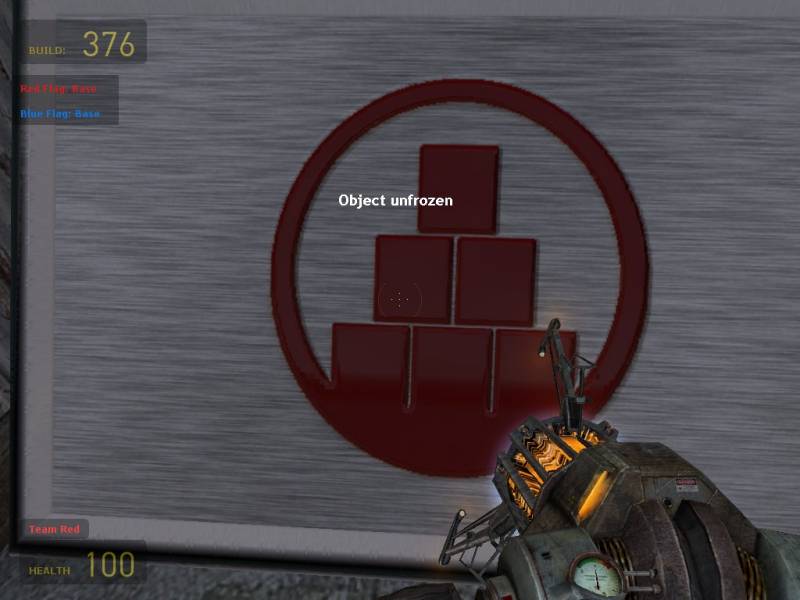
There are 3 main spots on a block where you can and should pick them up from
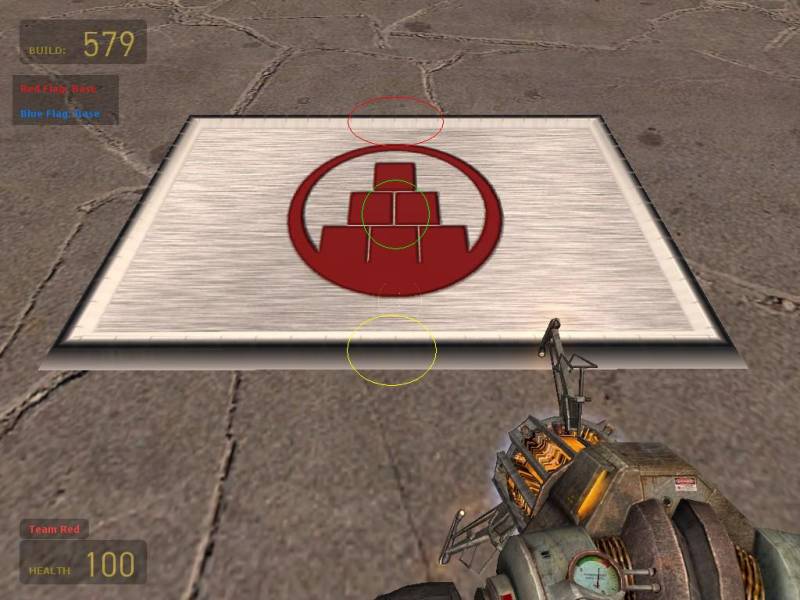
In this picture I have marked these 3 spots out for clarity. Yellow being the closest point to you (the bottom of the block), green being the mid point of the block and red being the top of the block.
If you grab the block from any of these spots, you must look up with the mouse to get the block straight, in the following pictures you will see how different the angles look when grabbing the blocks from the different points.
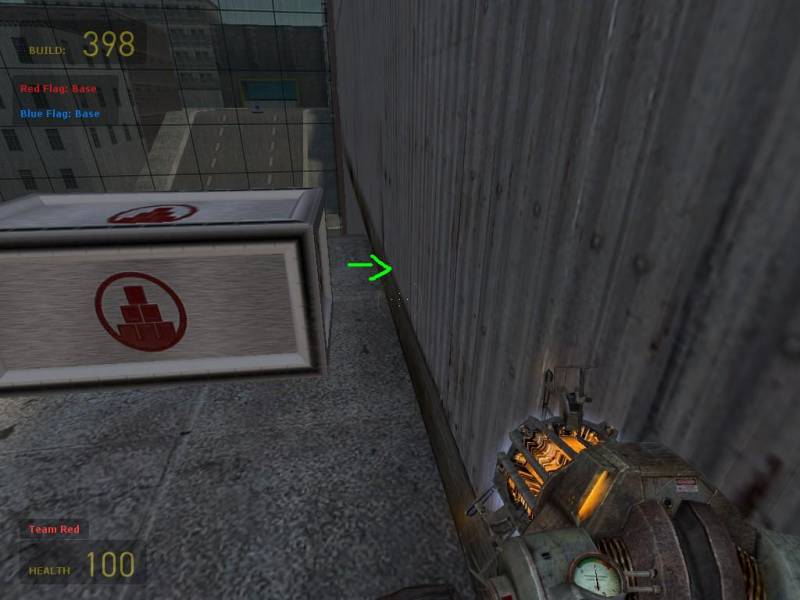
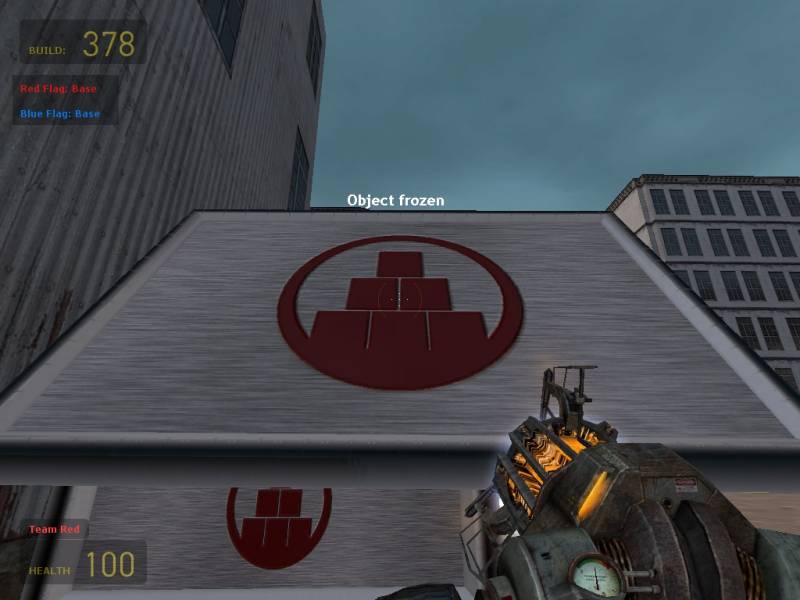
So we start with the block laying horizontally on the ground in front you.
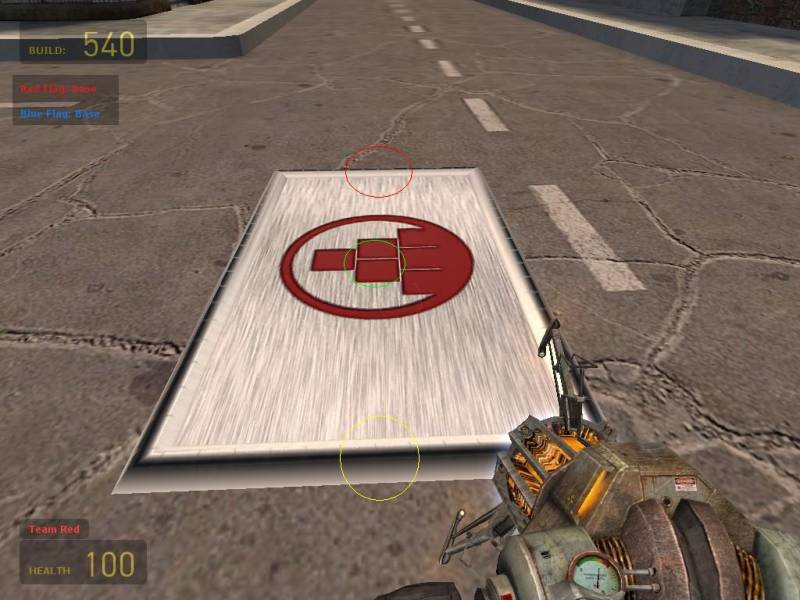
With yellow being the bottom of the block, if you grab the block from here and look up, you have less work to move the block up to a straight position, as you can see from the picture and the angle, but the block will be lower to the ground, and has more chance of hitting the ground as you move around causing you to drop it etc;
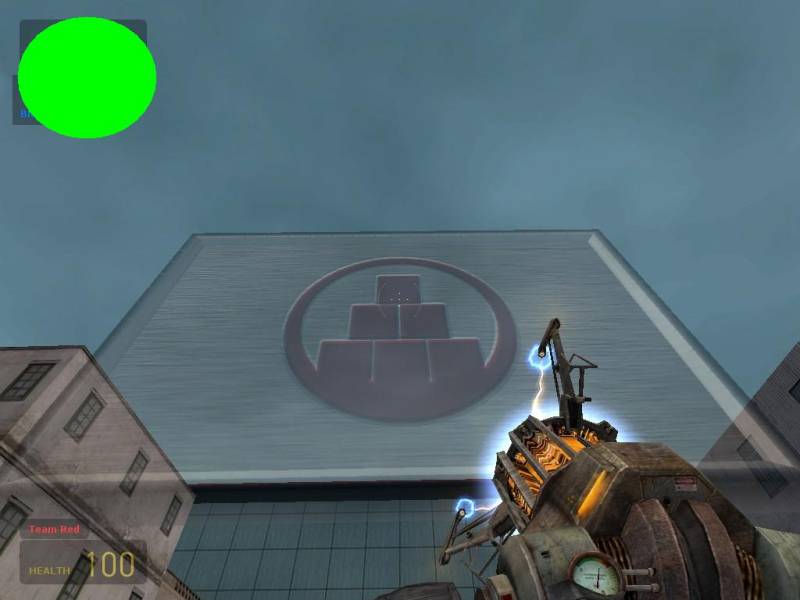
When you grab the block from the middle green point, you have to look a bit more than you would do with yellows grab point, but only a slight bit more to get it straight, also the block will be relatively safe from hitting with the ground as you move about, making it easier to carry it to its destination;
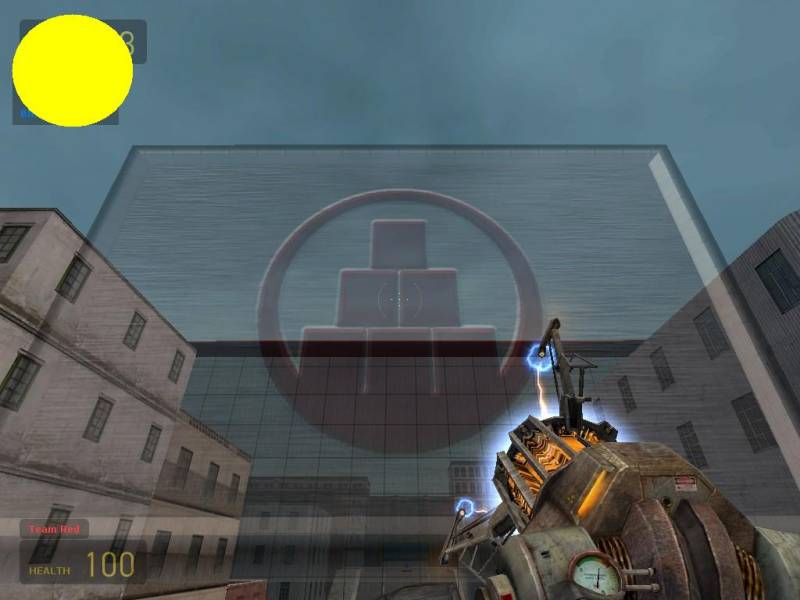
But when you grab the block from the top, to get it in a straight position it takes the most movement (and extra movement = less time building, this is a good tip to remember to help you save time in building), also since you have to look up so much, you may find it hard to move around not being able to see where your going clearly, which will result in you looking down while holding the block, and you may just end up hitting it off of another block and dropping it etc;

.
Now you can also grab the block from these same 3 spots vertically, as well as diagonally;
But an important thing to remember is you don't have to use these 3 spots only, you can experiment with your distance from the block, and points of pickup etc to find a method you prefer for making the walls (or just find a way to lift a block to the height you want for your build etc), but the 3 I have mentioned will be the simplest to remember and use and will work for almost any situation.
Now when making a straight or at least straight as possible wall, there are 3 ways you can go about this;
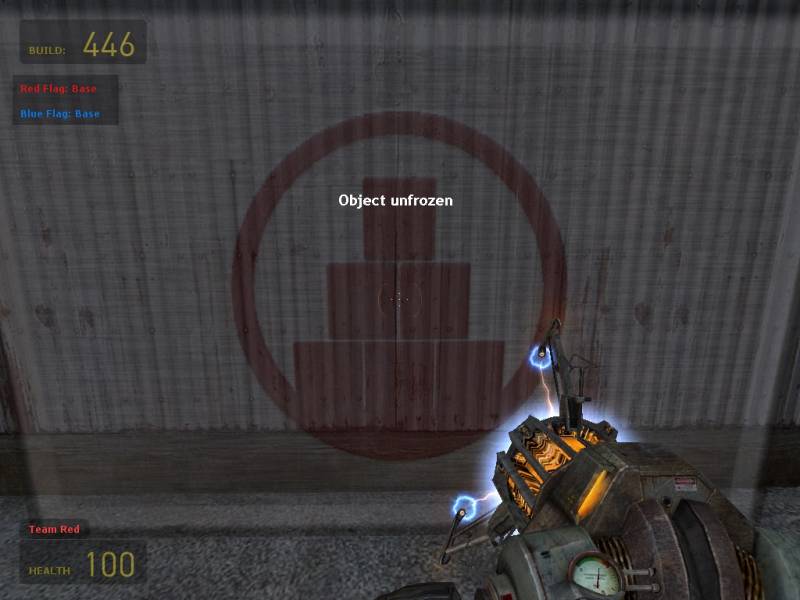
1. Lift the block and use the grav gun as demonstrated earlier in this tutorial, freeze the block when its in the air and as straight as possible, unfreeze it in the air let it drop a little bit and grab it, then move it to your wall start point and freeze it (not it may be a little bit off the ground, not to worry just crouch before you freeze it and this will cause it to make contact with the floor), this method is very sloppy at best and will give you poor results most the time (not to say you can't get good results, its just takes time and effort to get a feel for making this kind of wall straight).
2. Use a straight wall as a reference
I have decided to include some pictures for this method since it is far more reliable than the first (I only mentioned the first for informationïÿýs sake :P).
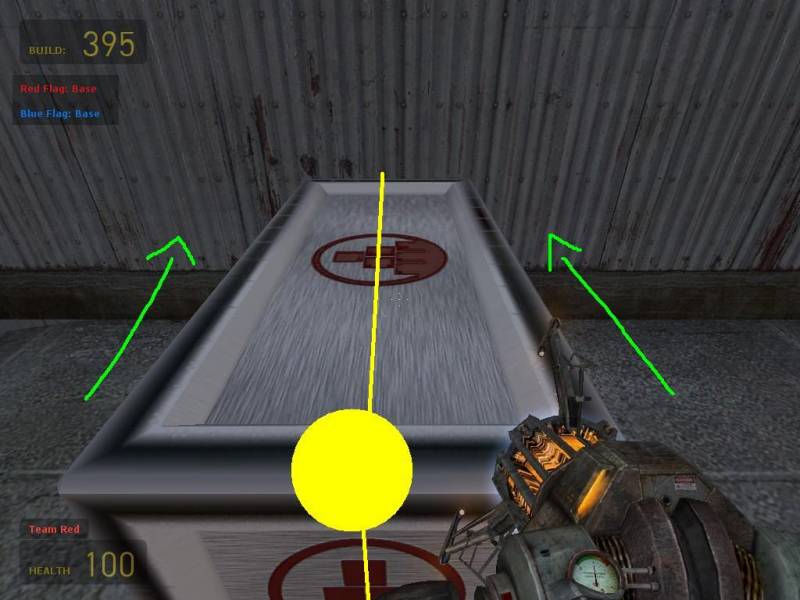
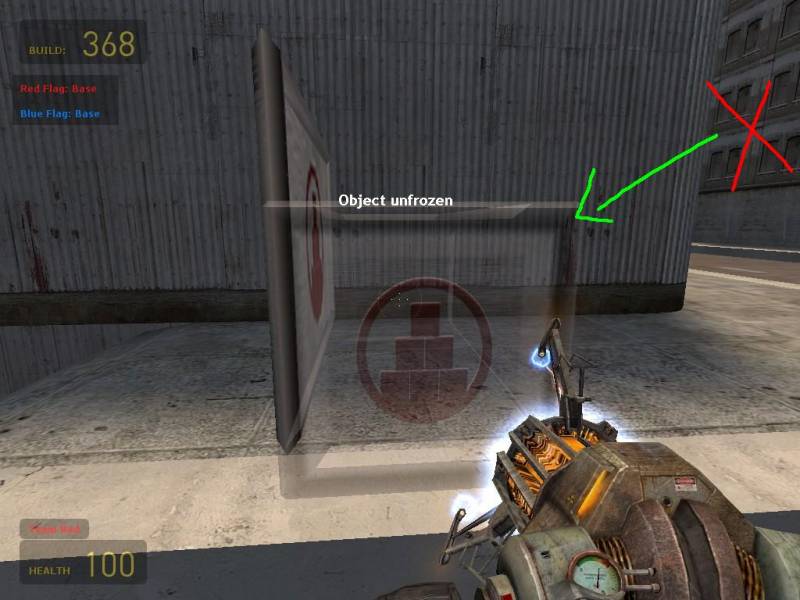
Start with a 2x3 and bring it close to a straight wall;
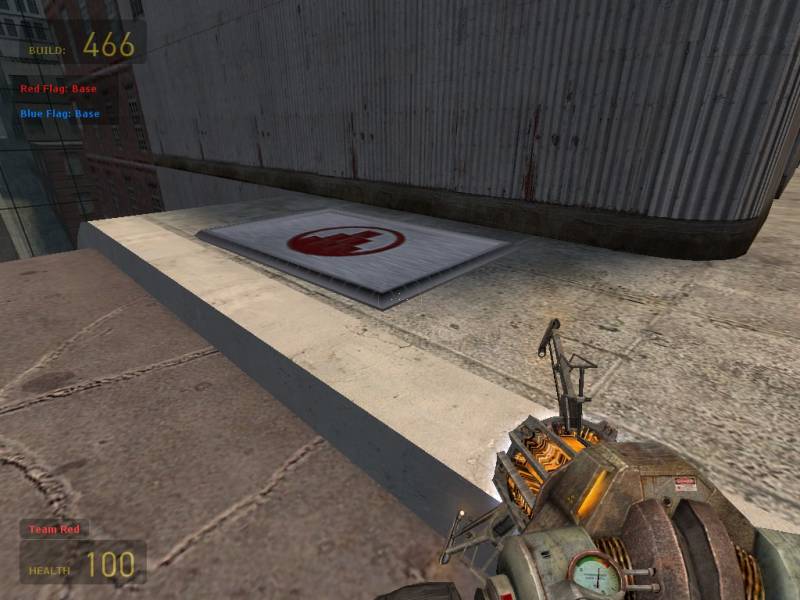
Using your new found picking up skills, bring the block up and drop it in front of the wall, as soon as you drop the block run your body into it and force it up against the wall, freeze the block against the wall in this position (remember you can use the block horizontally or vertically, its your choice, depends on the type of wall you want);
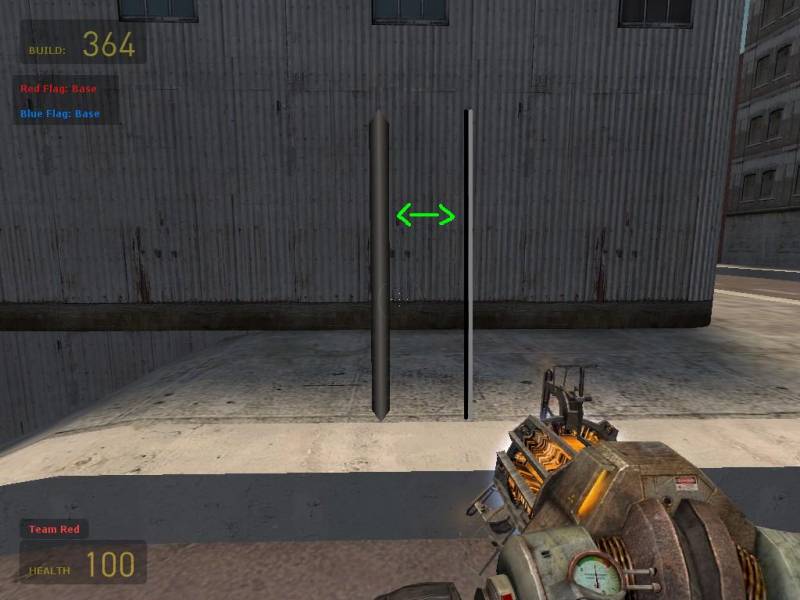
Now from here you can pick the block up in 2 of the 3 pickup locations (if you duck then pick it up, you can pick it from anywhere you want since when you stand it won't end up clipping with the floor and falling out the grasp of your grav gun from the clipping as it would if you were standing and picked it from the bottom, go ahead and try it to see what I mean

);
Try to pick the block up as close to it as you can, unfreeze the block and pick it up, try to keep the mouse at the same height level from when you pick it up, to refreezing it (this will help keep the wall as straight as possible);
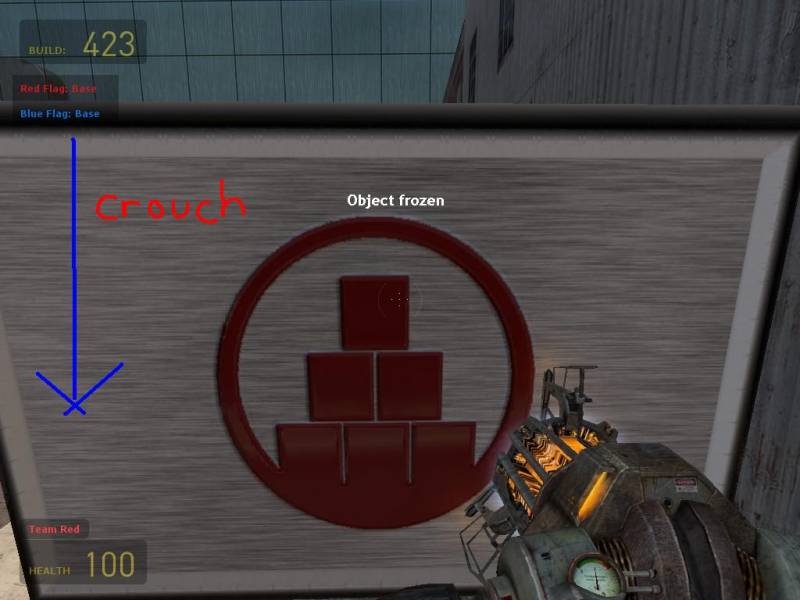
When you have the block in position you will most likely find it is higher off the ground than you will want it to be frozen;

That is not a major problem as there is 2 simple ways to fix this, the first is not recommended but can work, simply freeze the block as it is, walk as far up to it as you can, unfreeze it and let it fall hoping it decides to lean back toward you, then refreeze it straight away (of course thereïÿýs always the chance it will lean away from you when you do this, so be ready to freeze it as soon as it lands straight).
The second way is even simpler and yields the better results, line up the block exactly where you want it, then crouch and freeze it as soon as you have crouched;
With both methods you won't get a perfectly straight wall, but you will get a decent wall for a relatively fast build;
 3. Use the good old 1x2 3d boxes
As above the good old 1x2 3d block as shown below comes in handy for making perfectly straight guides for starting you wall (you can also use the 1x1 3d, but why bother when the 1x2 is easier);
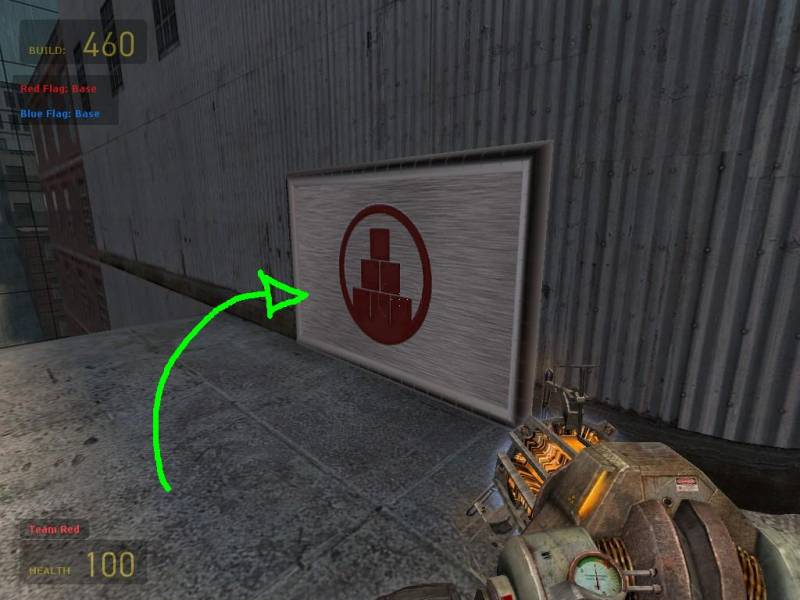
Now to start your wall with a 1x2 3d, you want to take the block and place it up against a wall as pictures here;
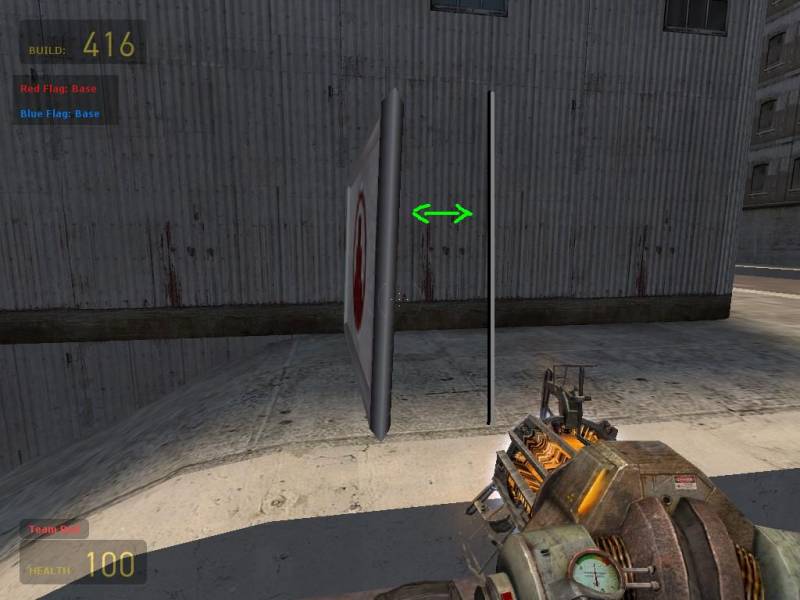
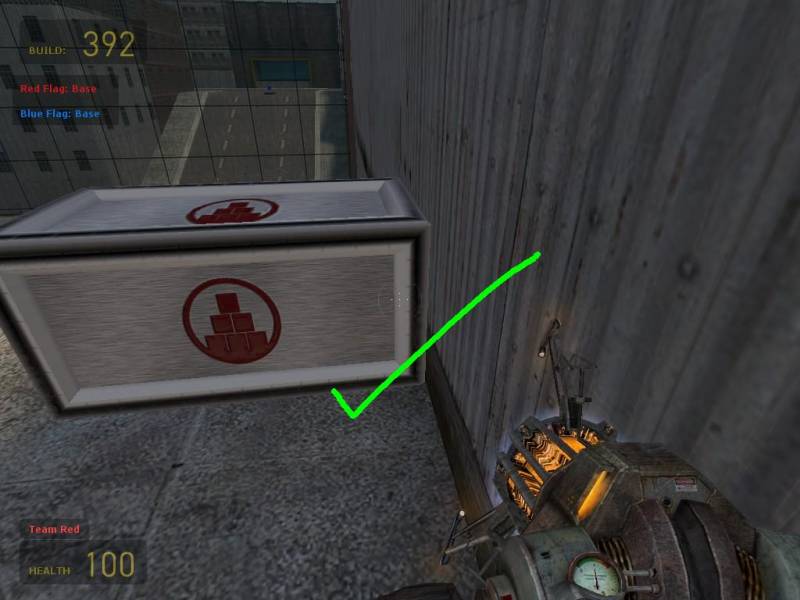
Notice the gap? You will need to leave some sort of gap (large or small) so you can push the block against the wall with your body and make it as straight as it can be before freeze this block;
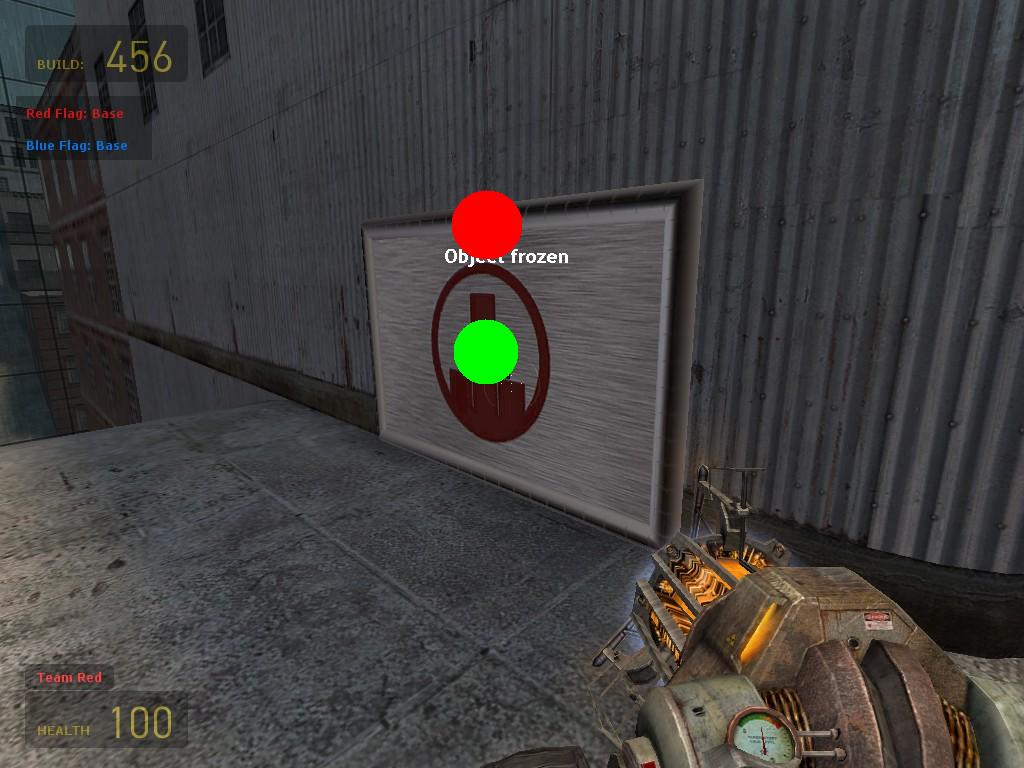
When you push the block you will want to push it against the wall from the centre of the block to prevent it going bent or anything like that, I have marked the area you will want to walk against in the picture to make it simpler
.
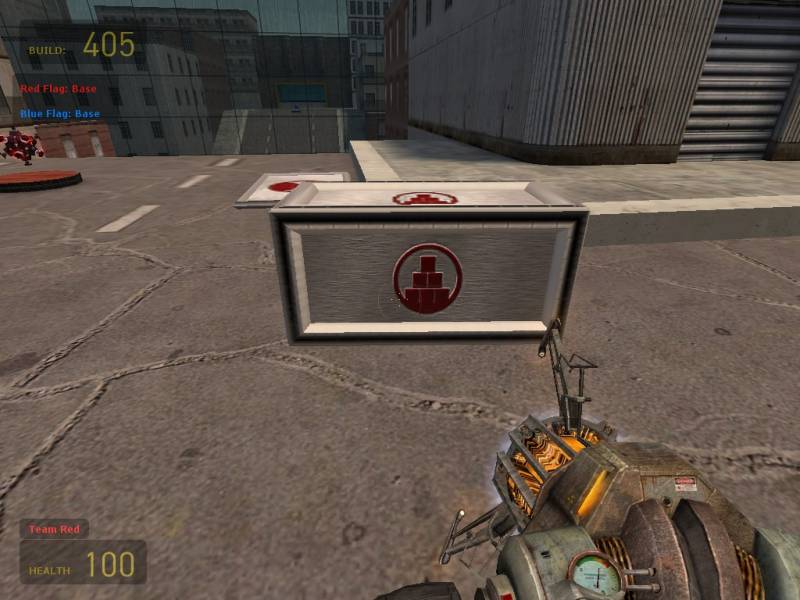
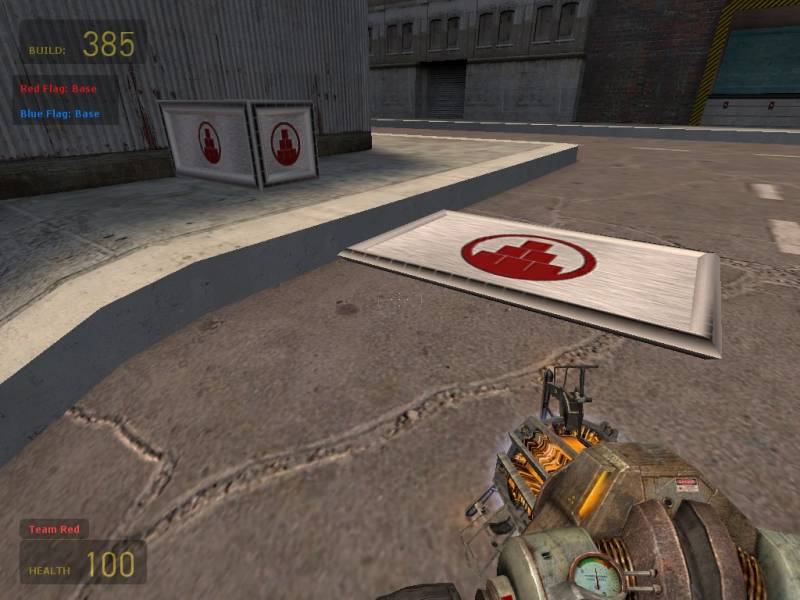
Once you have it flush up against the wall, it should look something like this;
If you have a gap on either side this will make you wall slanted (not a big issue, but if your fussy over the wall) you may want to push the brick again to make it fully flush against the wall.
Once you have completed the above steps you ill be ready to start you nice a perfectly formed wall (again you can go for horizontal or vertical placing of the block, I have chosen horizontal for this entire tutorial).
Now you will want to do like you done for the block against the wall, bring the 2x3 close to the 1x3 3d and place it in the same orientation as the 1x3 3d;
Now pick up the block and bring it over to the front of the 1x3 (or you could take it to the back up to you which side you build on) and freeze it just in front of the 1x3 3d like so (it does not really matter how you freeze it in front of the 1x3, as long as when you unfreeze it , it does not fall backwards over the 1x3);
From here its as simple as method no 2, act as if the 1x3 is the straight wall and unfreeze the 2x3 panel and walk it straight up against the 1x3, then freeze it;
Now that you have the starting point of you wall ready you can get rid of the 1x3;
And you will be left with a perfectly formed starting block and guide for the rest of your wall;
I hope I have been of some help and use to the new members of the community and from now on I expect to see some decent walls in sf lol (j/k, I don't mind how good or bad you play, as long as you can play sf I can have fun playing alongside you
).


 Hybrid Mode


